Working with Skinned Meshes
In the first half of this chapter, you learned how to manipulate a hierarchy
of bones that forms the basis of skeletal animation. That's all fine and dandy,
but playing with imaginary bones isn't going to cut the mustard. Your game's
players need to see all your hard work in the form of rendered meshes, which is
where skinned meshes come in.
Skinned meshes are almost like the standard meshes with which you are already
familiar. Using a D3DXMESHCONTAINER_EX object, you can store your mesh's data,
from the vertices and indices to the materials and texture data, all wrapped up
in one convenient ID3DXMesh object. As for the actual skinned mesh data, that
information is contained in a special object called ID3DXSkinInfo.
I'll skip the ID3DXSkinInfo introductions for the moment and instead explain
what makes a skinned mesh unique to other meshes. A skinned mesh deforms to
match the orientation of the underlying skeletal structure. As the bones twist
and turn, so do the mesh's vertices. The mesh−s vertices make the skinned mesh
unique. You'll be dealing with the changing positions of the vertices when it
comes to skinned meshes.
Take a look at Figure 4.3, which shows a skeleton surrounded by a simplistic
mesh.
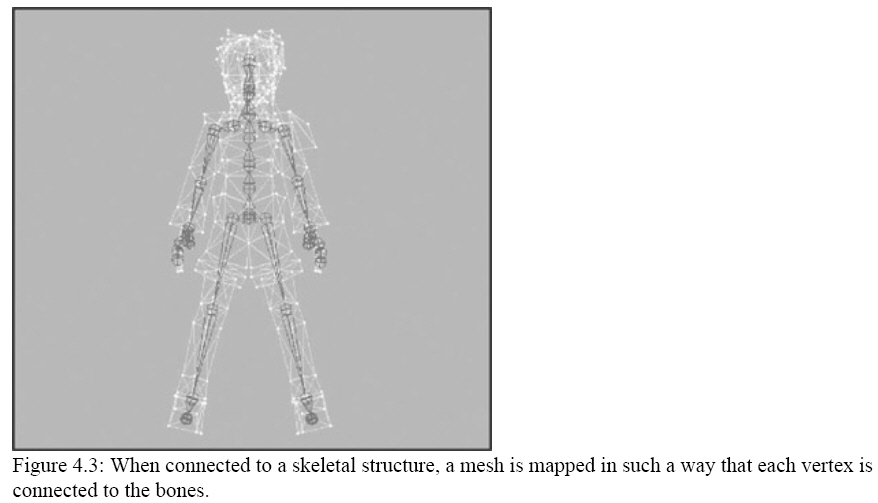
In Figure 4.3, each vertex is connected to a bone. As a bone moves, so do the
vertices that are attached to it. For example, if you were to rotate the bone 45
degrees about the x−axis, the attached vertices would rotate 45 degrees as well,
with the bone's joint acting as the pivot point or the origin of the rotation.
Now take a closer look at Figure 4.3, and you'll see that a couple vertices
are attached to more than one bone. That's right−you're not limited to attaching
a vertex to a single bone. In fact, you can connect a vertex to as many bones as
you want with DirectX. Whenever one of the bones to which the vertex is attached
moves, the vertex inherits a percentage of the motion. For example, if a bone
rotates 60 degrees about the z−axis, an attached vertex may inherit only 25
percent of the motion, meaning the vertex will rotate only 15 degrees about the
z−axis.
The exact percentage of motion the vertex inherits is called the vertex
weight. Each vertex in the skinned mesh is assigned one vertex weight per bone
to which it is attached. Those weights are typically 1.0 for vertices that are
attached to only one bone, meaning that the vertex inherits the full motion of
the bone. The weights are divided among the bones for vertices attached to
multiple bones, and are usually calculated by taking into consideration the
vertex's distance from each bone. (Most 3D modeling programs will graciously
calculate this for you.) For example, suppose a vertex is attached to two bones,
meaning that both weights are set to 0.5. The vertex will inherit 50 percent of
the motion from each bone. Notice that the total of all weights summed must
always equal 1.
The purpose of using skin weights is quite ingenious. By allowing certain
bones to influence specific vertices, you can have awesome effects such as
wrinkling skin, bulging muscles, and stretching clothes−all in real time as your
characters animate!
The way DirectX treats the vertex weights is quite simple. After you've
loaded a mesh to use as your skinned mesh and you've loaded the vertex weights
(also called skin weights), you can transform the vertices to match the bones'
orientations using the following steps.
1. Iterate all vertices. For each vertex, proceed to Step 2.
2. For each bone to which the current vertex is connected, get the bone
transformation. For each bone transformation, multiply the matrix by the
vertex's weight and apply the result to a combined transformation for the
vertex.
3. Repeat Step 3 for each bone connected, and repeat Steps 2 through 4 for
each vertex. When you're finished, apply the combined transformation matrix to
the specific vertex being iterated (from Step 1).
How exactly do you obtain these skin weights? With the help of the
ID3DXSkinInfo object I mentioned earlier, you can load the weights from an .X
file. The skin weights are stored within a Mesh data object, usually at the end
of the Mesh object's data.
For each bone in your skeletal structure, there is a matching SkinWeights
data object. Inside the SkinWeights object is the name of the bone, followed by
a number of vertices attached to it. A skinned mesh header determines the number
of bones to which each vertex in the mesh can be connected. If some of the
vertices are attached to two bones, then all vertices must be attached to two
bones. To get around the oddity of having vertices that connect to different
numbers of bones, you can assign a weight of 0 to the second bone.
As I mentioned, the SkinWeights object includes the number of vertices that
are connected to the bone. It lists an array of vertex index numbers. After the
array of vertex indices, there is an array of vertex weight values. Finally,
there is an inversed bone transformation to help you orient the vertices around
the bone's joint.
Take a look at this sample SkinWeights template data object:
SkinWeights {
"Bip01_R_UpperArm";
4;
0, 3449, 3429, 1738;
0.605239, 0.605239, 0.605239, 0.979129;
−0.941743, −0.646748, 0.574719, 0.000000,
−0.283133, −0.461979, −0.983825, 0.000000,
0.923060, −1.114919, 0.257891, 0.000000,
−65.499557, 30.497688, 12.852692, 1.000000;;
}
In this data object, a bone called Bip01_R_UpperArm is used. There are four
vertices attached to the bone, and the vertex indices are 0, 3449, 3429, and
1738. Vertex 0 has a weight of 0.605239, vertex 1 has a weight of 0.605239, and
so on. A transformation matrix aligns the vertices listed around the bone's
joint. This matrix is very important. Without it, the vertices will rotate
around the origin of the world instead of the bone's joint.
Thankfully, you don't have to deal directly with the SkinWeights templates.
The data is handled for you while you are loading the skinned mesh from an .X
file using the D3DX helper functions.